This post is a follow up to last week’s introduction to the new Cluster Auto Painter (CAP), in which I explained how this new tool can be used to map the segments from groups of shared matches.
I realize lots of people have now tried CAP, and not all of them will have experience of chromosome mapping or DNA Painter.
At the same time, there will be many experienced chromosome mappers whose experience with clustering tools might be limited.
So I thought I’d write a follow-up post to show the mechanics of how to use DNA Painter to annotate and investigate your clusters, including assigning them to your maternal or paternal side.
If you’re new to DNA Painter or need a refresher, please read on for an explanation of how to use the site to view and edit your segments, matches and cluster groups.
A quick recap on Cluster Auto Painter
With Cluster Auto Painter (CAP), you can take cluster HTML files (generated at Gedmatch, MyHeritage, Genetic Affairs or DNAGedcom) and use them to generate a chromosome map. Gedmatch and MyHeritage users also need to get their CSV file of shared segments, following the on-screen instructions.
One of the main benefits of doing this is that it lets you annotate your clusters, which are otherwise accessible mainly via read-only HTML files.
First steps
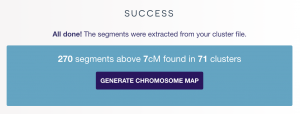
As soon as you click the ‘Generate Chromosome Map’ button in the CAP tool, DNA Painter will take you to a new chromosome map consisting of your clusters.
The segments for each cluster will appear in a different colour in the chromosome map.

The ‘All matches’ report
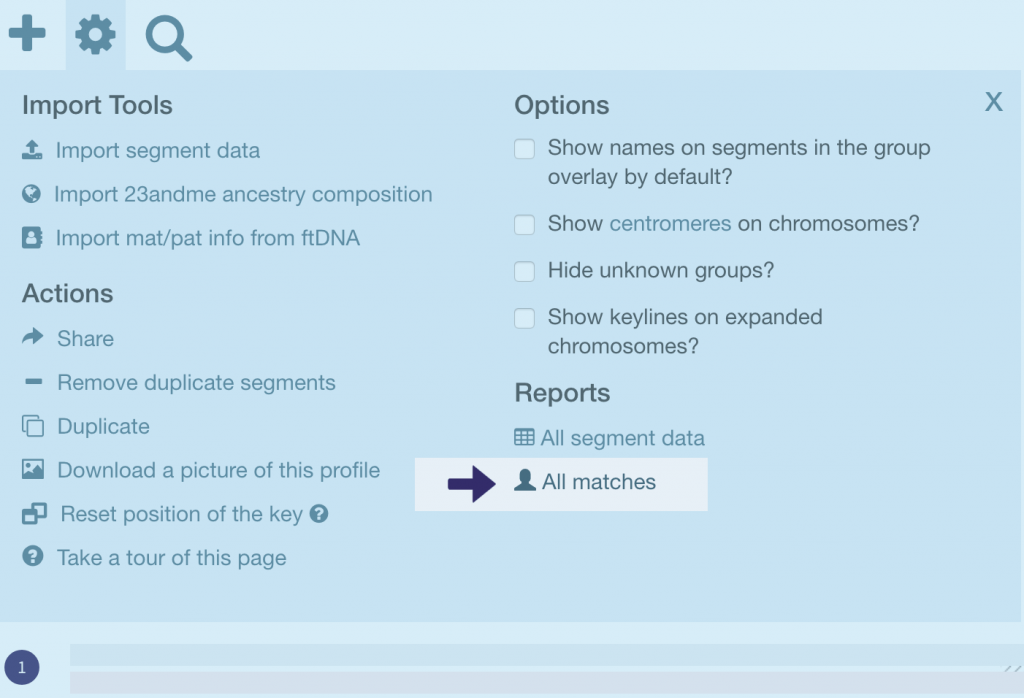
The first thing you might like to do is look at the ‘All matches’ report. You can reach this by clicking on the ‘settings’ cog above chromosome 1 and clicking ‘All matches’ under ‘Reports’.
The All matches report is a table containing the names of the DNA matches in the map, ordered with the matches you share the most DNA with at the top. You can also click on any column heading to order by it, including ordering by average segment length. Hopefully by doing this, you’ll see someone you can identify among your largest DNA matches.
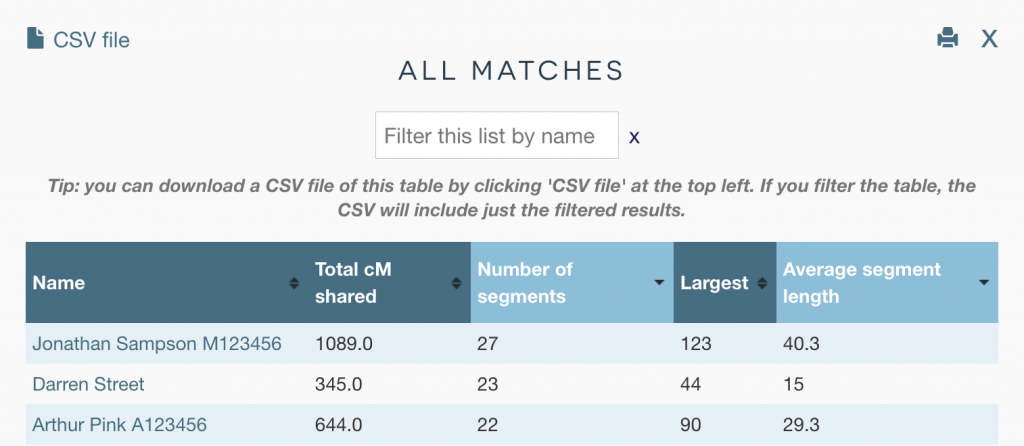
If you’re looking for a specific match, you can also filter the table by typing characters into the box at the top. Clicking on a match’s name will bring up the match overlay for that match.
The match detail overlay
The match detail overlay displays a variety of useful information:
- Their name
- The total cM of DNA shared (linked to the shared cM tool page for this amount, so you can check possible relationships)
- A link to see the segments within the group/cluster of matches
- A link to add additional segments for this match (e.g. if there are segments of X-DNA not previously added)
- A linked list of any matches who seem to share DNA with the match based on the data you’ve entered, and a linked list of any groups these matches are in.
- A switch allowing you to display overlapping segments within the overlay (this only appears when needed)
- A link to copy the segment data for this match (for example if you wanted to add the match to a separate chromosome map).
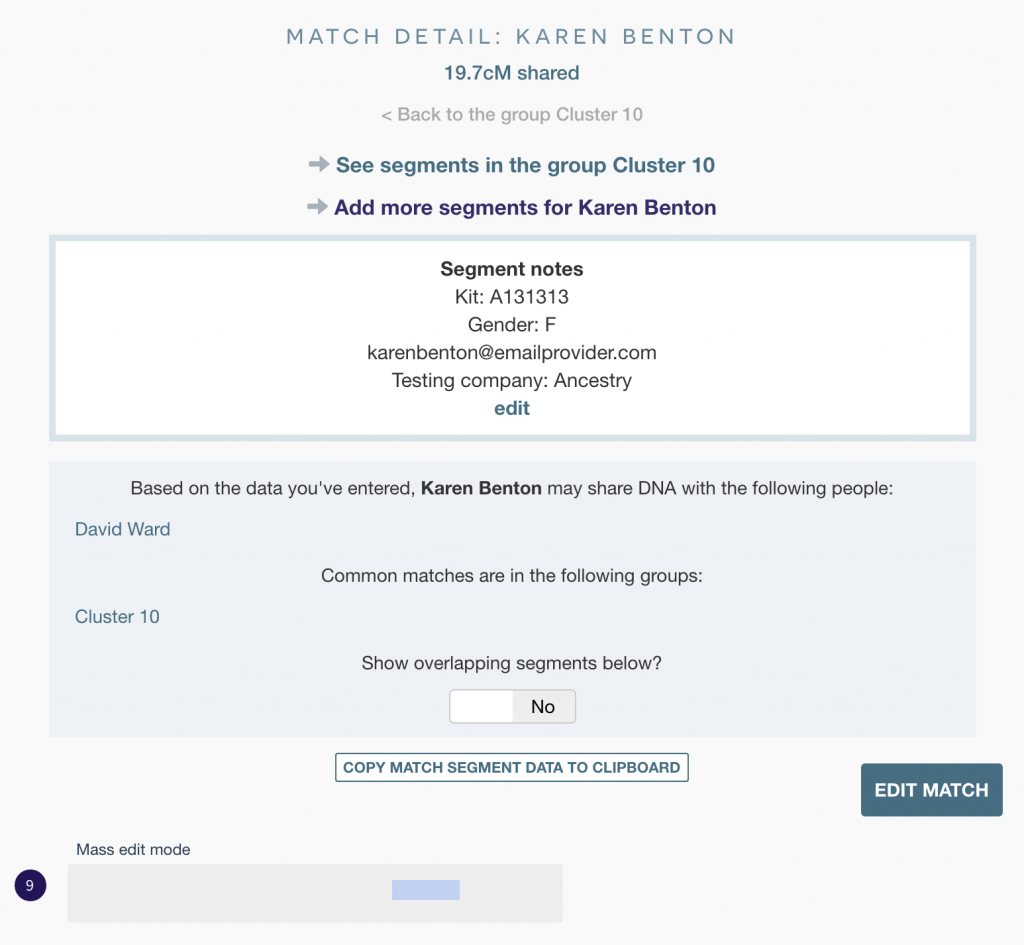
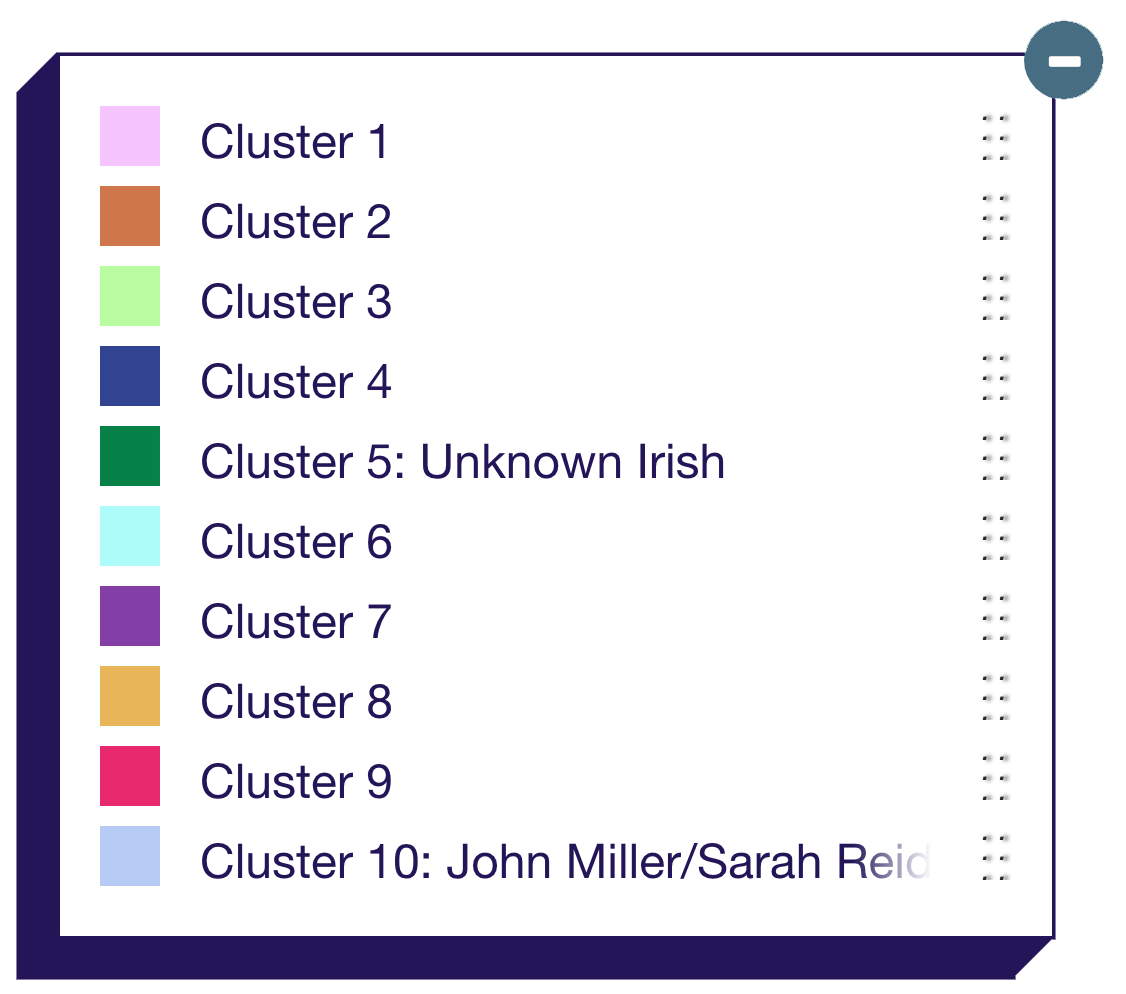
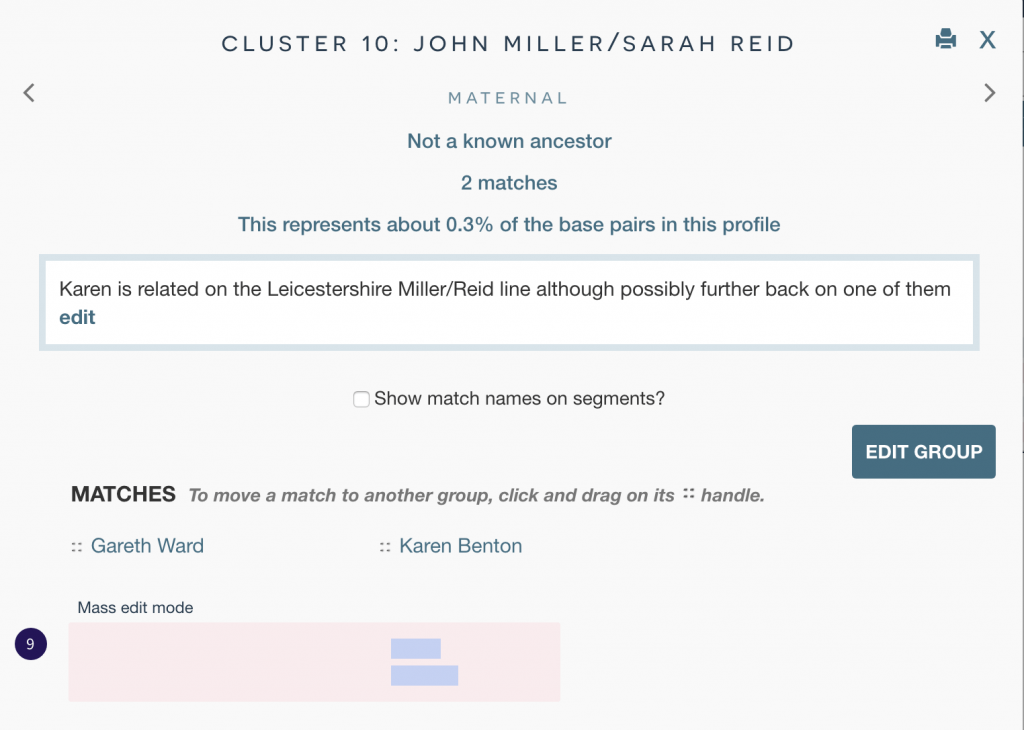
Let’s imagine you have a good idea of how Karen Benton is related on the maternal side. To indicate this in DNA Painter, you simply have to make the group ‘Cluster 10’ maternal, *or* add Karen to a new group that’s set as maternal. You can look at Cluster 10 to help decide.
The group overlay
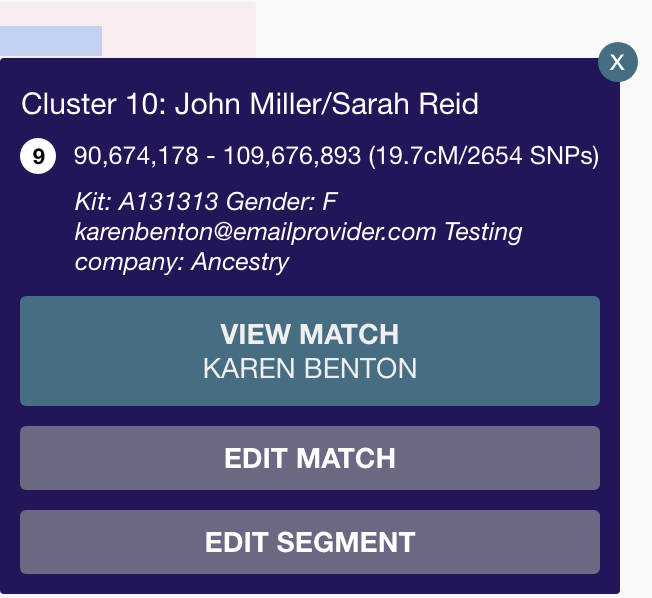
A group in DNA Painter is simply a set of segments that display in a selected colour. Cluster Auto Painter makes a group for each cluster. To view a group, click the link in the match overlay to that group (‘See all segments in Cluster 10’ in this case), or click the group’s name in the key at the bottom right of the map.
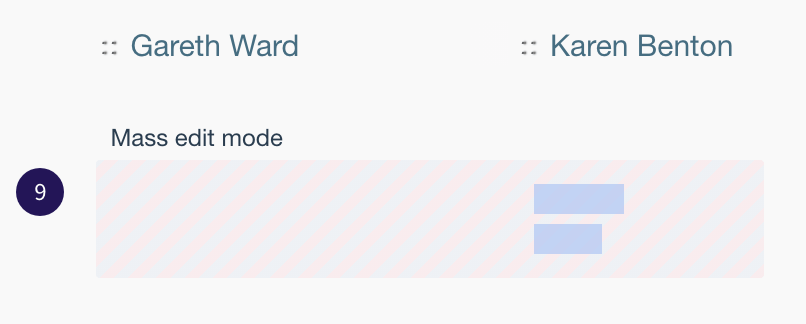
It turns out that Cluster 10 only has two matches in it, and that both segments overlap significantly. In this case, you might conclude that if Karen is maternal, Gareth must also be, and therefore simply go ahead and mark Cluster 10 as maternal.

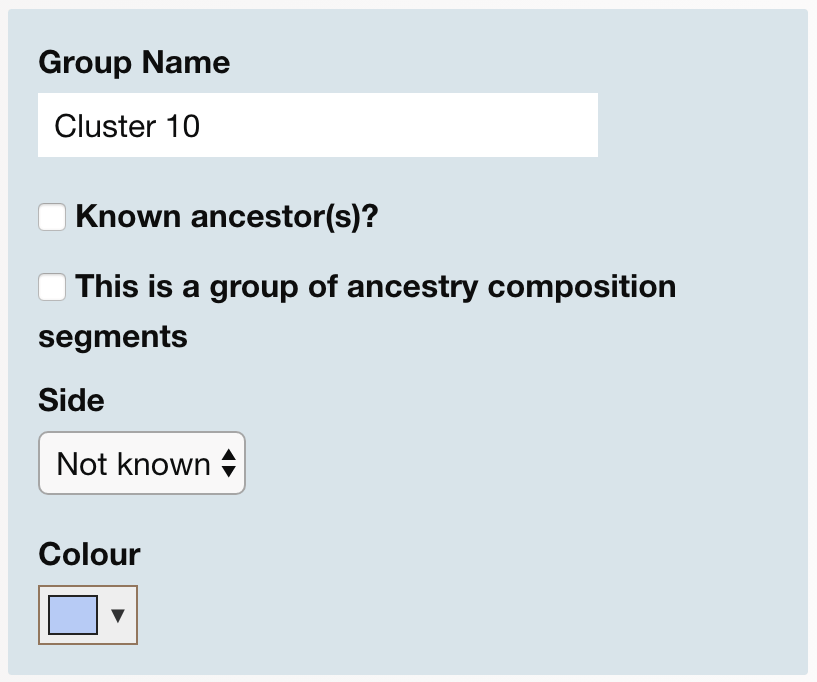
Within the ‘edit group’ form you can also add notes for that group, and adjust the colour if you need to. In this case, let’s say you’ve deduced from Karen’s genealogy that she is on the maternal side, in the line of John Miller/Sarah Reid in Leicestershire. You might not know exactly how she’s related, but you can still record this information in the group name and notes.
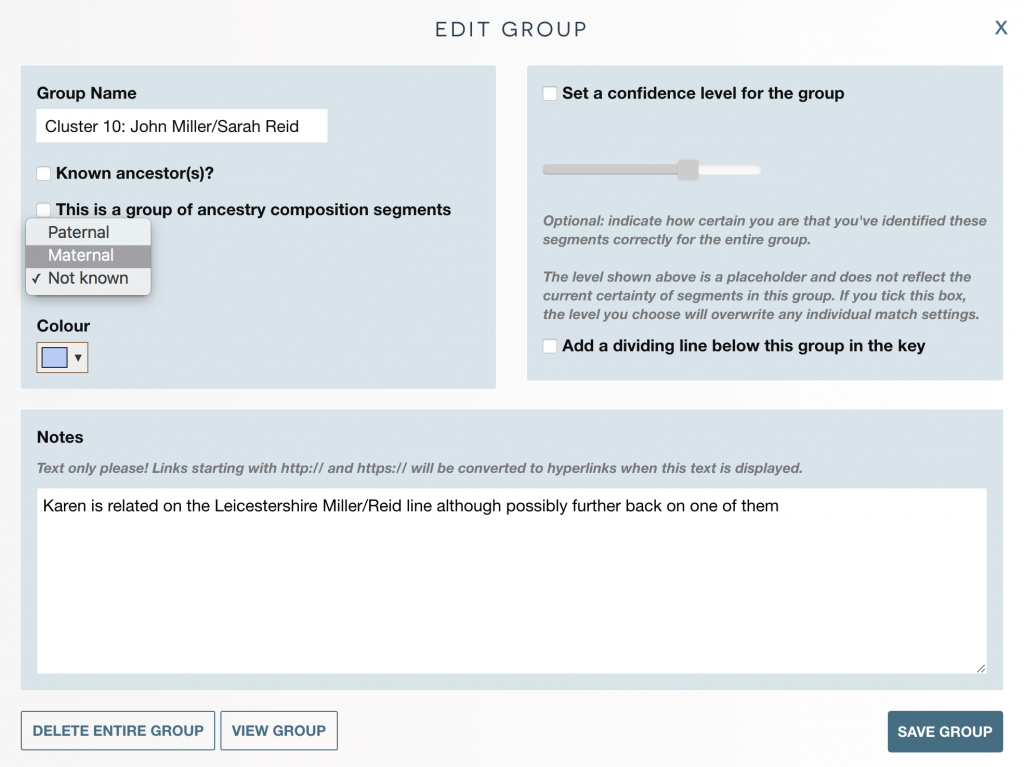
After you save a group, you are returned to that group’s overlay.
You can now use the cursor keys and/or the arrows at the top of the screen to browse through each cluster in turn, editing those where you have additional information.
You can also make notes on any specific segment by clicking on that segment and clicking the ‘Edit segment’ button.
I hope this brief introduction into the possibilities for editing and annotating your clusters has been useful. Please feel free to get in touch with any questions or suggestions!
Contact info: @dnapainter.bsky.social / jonny@dnapainter.com